Planning an event is easier when guests can find everything they need in one place.
Instead of sending the date in one message, the location in another and collecting confirmations manually, you can create a dedicated event page with Arowet.
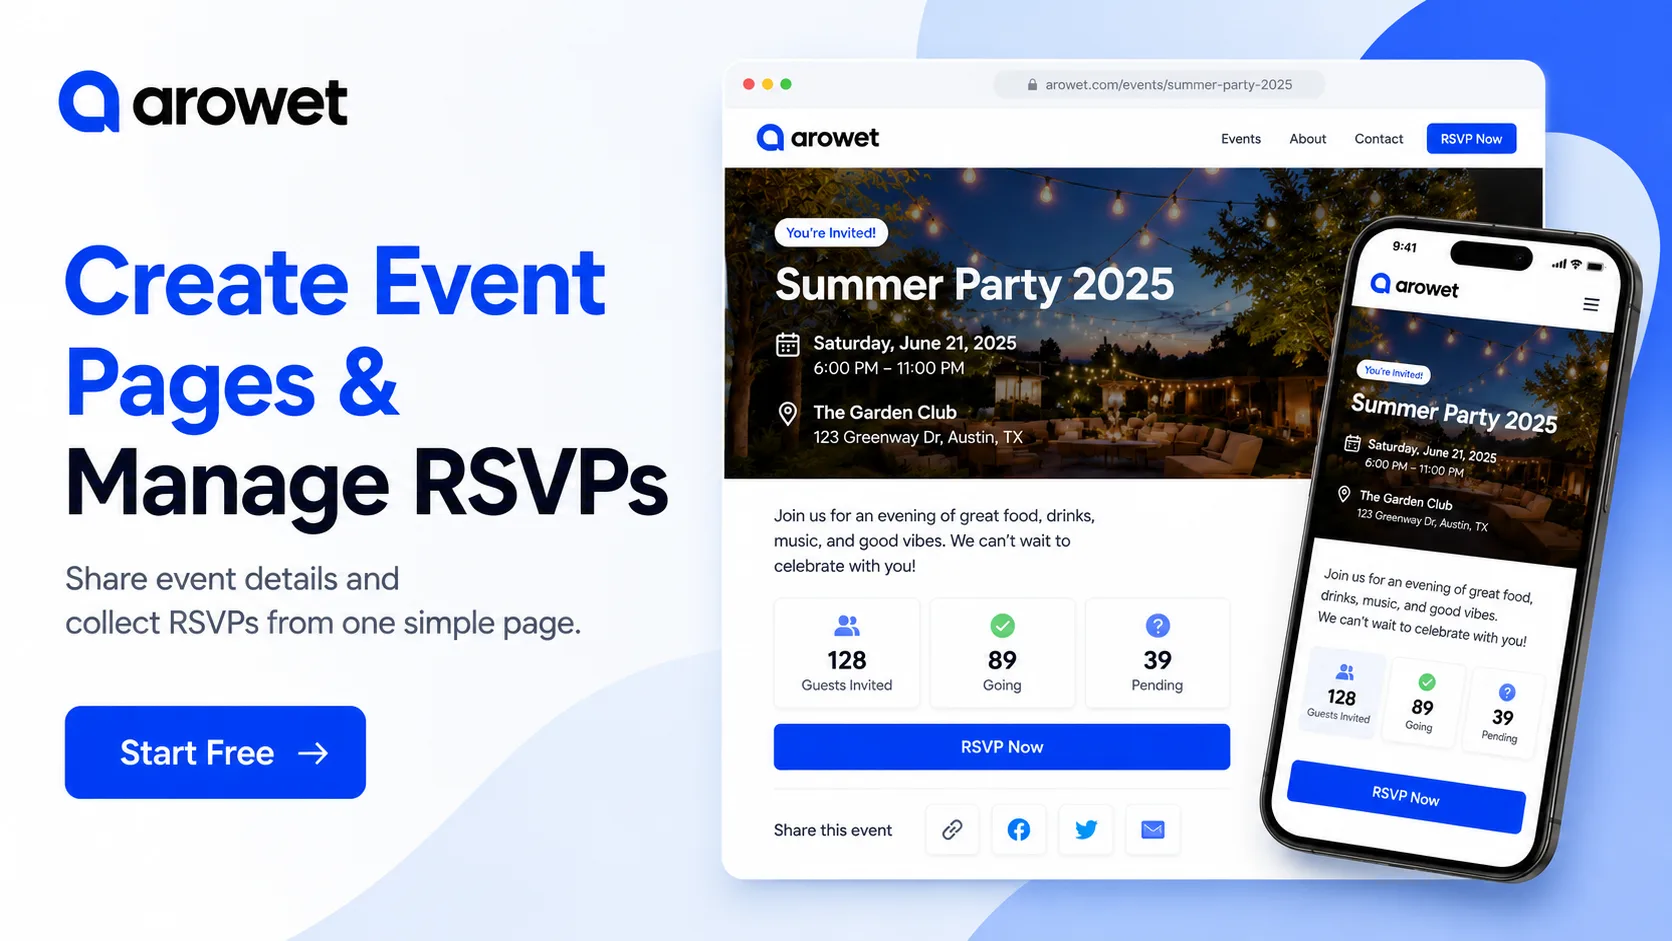
Your event page can bring together the important details and give guests a simple way to respond.
Create One Page for Your Event
A good event page should immediately answer the questions every guest has:
- What is the event?
- When is it happening?
- Where is it happening?
- What time does it start?
- How can I RSVP?
Keeping these details together makes the invitation easier to understand and easier to share.
Add the Important Event Details
When creating your event page, include the information your guests actually need.
You can present details such as:
- Event title
- Date
- Start and end time
- Venue
- Address
- Event description
- Guest information
- Schedule
- Important instructions
Keep the most important information near the top so visitors do not have to search for it.
Manage RSVPs More Easily
Instead of asking guests to reply through different messages or platforms, give them one clear RSVP action.
A simple RSVP flow helps both guests and organizers.
Guests know exactly where to respond, while organizers can keep track of attendance from one place.
Depending on your event setup, you can organize responses such as:
- Going
- Pending
- Not attending
This can make planning easier when you need an estimate of expected guests.
Make Your Event Mobile Friendly
Many guests will open your event invitation directly from WhatsApp, email, Instagram or another mobile app.
Your event page should therefore be easy to read and use from a phone.
Important information such as the event name, date, venue and RSVP action should remain clear without requiring users to zoom or search around the page.
Share One Event Link
Once the event page is ready, share one URL through:
- Social media
- Direct messages
- QR codes
- Invitations
If event information changes later, update the page instead of sending a completely new set of details.
Your guests can continue using the same link.
Useful for Different Types of Events
A dedicated event page can work for many types of events, including:
- Meetups
- Workshops
- Business events
- Product launches
- Community gatherings
- Parties
- Private celebrations
- Networking events
The design and information may change, but the goal remains the same: make the event easy to understand and easy to join.
Keep the RSVP Action Clear
Do not hide the main action under too much content.
If you want guests to RSVP, make the RSVP button easy to find.
Use straightforward text such as:
RSVP Now
or
Confirm Attendance
The next step should be obvious.
Create Your Next Event with Arowet
Bring your event details, guest information and RSVP process together on one simple page.
Create your event, share one link and give your guests an easier way to stay informed.